
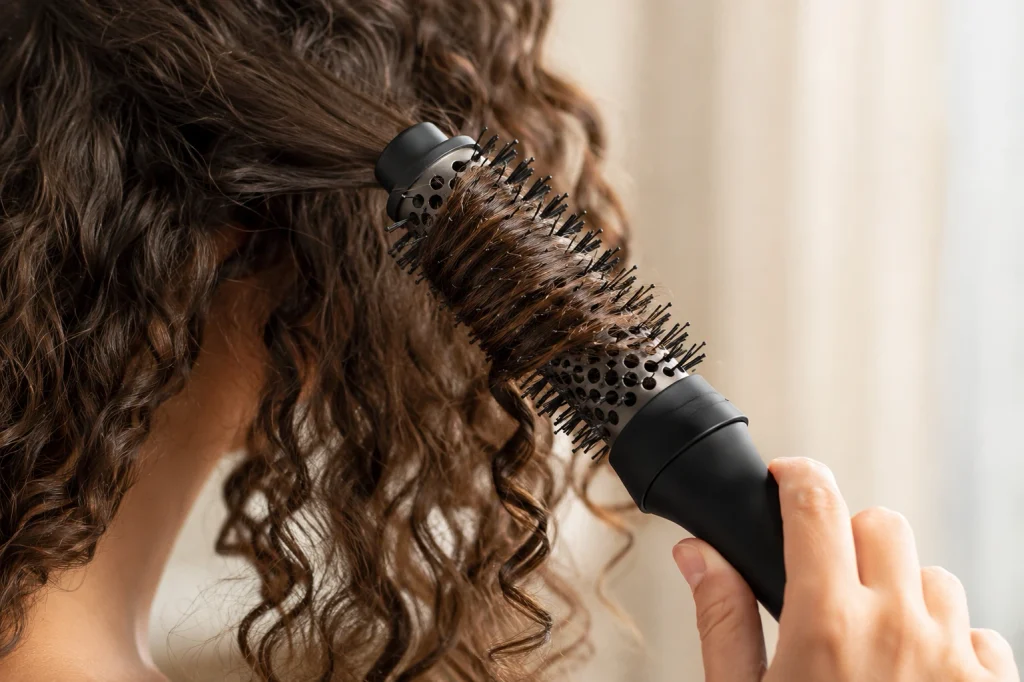
You just unboxed a hot air brush, looked at your curls, and wondered whether one pass will flatten them. Knowing how to use a hot air brush on curly hair comes down to three controls: how damp the hair is, how hot the brush runs, and how well each curl cools. Below are seven steps, a settings chart by curl type, and fixes for the usual problems. If you are still sorting out what the tool is, start with what a hot air brush is.
Quick Answer: Start with hair that’s nearly dry (80-90%) and free of tangles, then apply a heat protectant. Separate your hair into 1-2 inch sections and keep the brush on its gentlest heat setting. Wind each section around the brush for about 10 seconds, press the cool shot to lock the curl in place, then loosen the curls with your fingers.
What You Need to Know
- Curly hair works best at 80–90% dry. Dripping wet and bone dry both cause trouble.
- Start on the lowest heat setting and raise it only if the curl will not set.
- Cooling each section locks the curl, and skipping it is why curls drop out.
- Use fingers, not a brush, to shake out the finished style.
- Coily hair (4A–4C) and damaged hair need slower, test-section styling.
Should You Use a Hot Air Brush If You Have Curls?
Yes. A hot air brush works on curly hair when you control moisture, heat and cooling. Bellissima Italia, a hair-tool retailer, says hot brushes add volume and can emphasise natural curls. With one tool, you can blow-dry and style curls at the same time.
Go slower if your hair is bleached, chemically treated or coily (4A–4C). Test one small hidden section first. For the general routine, see how to use a hot air brush.
7 Simple Steps to Use a Hot Air Brush on Curls
Work in this order: prep damp hair, protect it, section it, set low heat, wrap and hold, cool, then shake out. Most people skip the cooling step, and it’s a major reason styles drop within an hour. Hairstylist Tom Smith made that point to Who What Wear.
Step 1: Start With Damp, Detangled Hair
Stop drying at 80–90% dry. Towel-dry, or rough-dry with a regular dryer, then detangle gently. Smith recommends this range because fully dry hair holds a style less well.
Dripping hair is a problem too. House Junkie, a home-goods site, notes that overly wet hair is more likely to be damaged.
Step 2: Apply Heat Protectant and a Light Leave-In
Apply heat protectant from roots to ends. If your hair tends to be dry, layer a lightweight leave-in on top, as curly hair is often drier than straight hair. Skip heavy products, which can flatten curls before you start styling.
Step 3: Divide Into Small Sections
Split hair into four sections, then take 1–2 inch pieces. House Junkie suggests the crown, each side and the back. Clip what you are not using.
Start at the front. Smith’s reasoning is that the face-framing curls get seen most, so they should get your best effort.
Step 4: Choose Your Brush and Temperature
Use a round brush for curls and a paddle brush for smoothing, and start on the lowest heat. House Junkie says thick hair may need more heat and fine hair less. Give the brush a few minutes to heat up fully before you style the first section.
Step 5: Wind, Roll and Hold Each Section
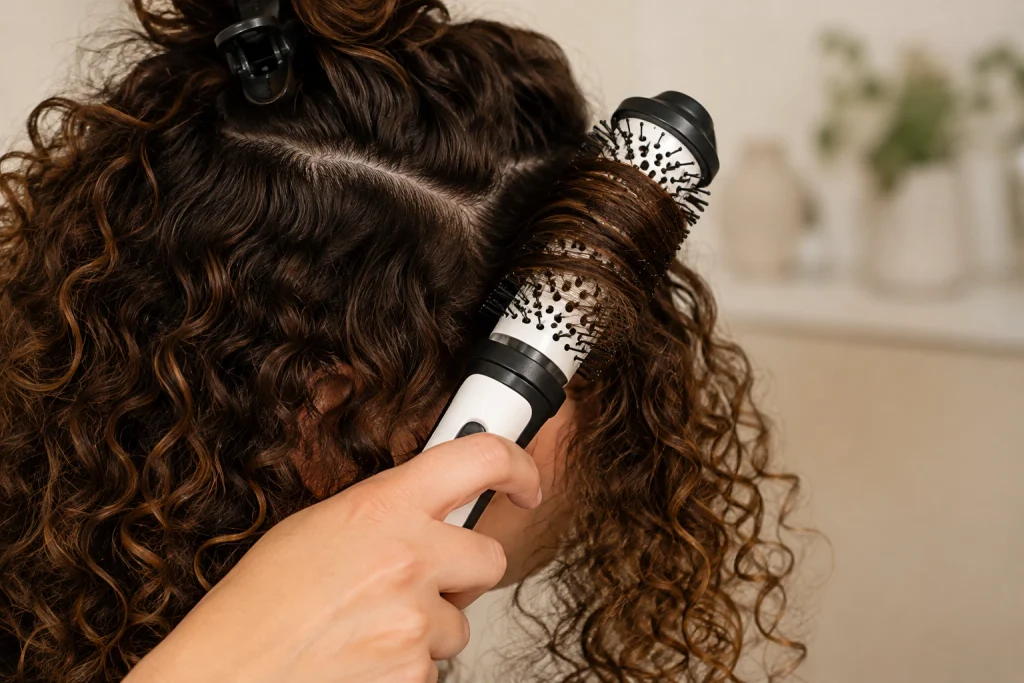
Wrap the section, roll the brush up toward the root, and hold about 10 seconds. Three sources agree on roughly 10 seconds: Who What Wear, House Junkie and Bellissima Italia.
Rolling hair under the brush builds root volume. Rolling it over the top creates a face-framing curve, according to Who What Wear.
To enhance existing curls instead of reshaping them, Bellissima suggests gliding the brush like a regular brush. Twist slightly at the ends and avoid holding it in place too long.
Step 6: Use Cool Air to Set Every Section
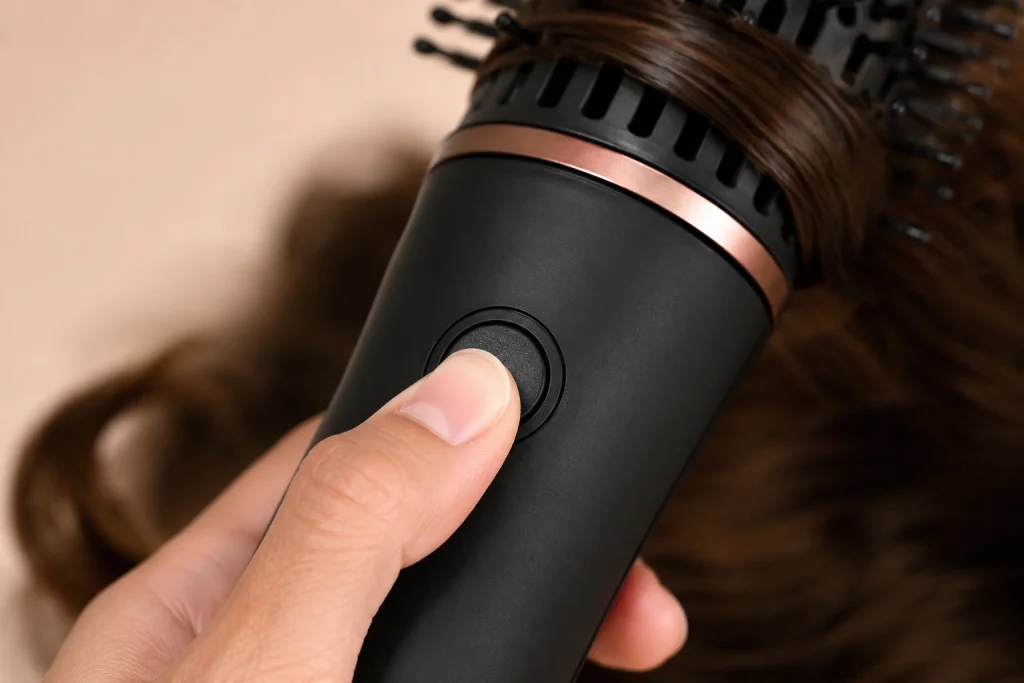
Blast the section with cool air until it feels cool, and only then release it. Hair softens with heat and sets as it cools. Smith compares it to candle wax, which stays malleable while warm and locks in once cool.
No cool shot? Clip the wrapped section up and let it cool while you style the rest.
Step 7: Cool Fully, Then Loosen the Curls With Your Fingertips
Let all the hair cool completely, then loosen curls with your fingertips. A brush can deflate the shape and volume, according to Who What Wear. To wrap up, apply a lightweight hairspray or a little serum. Turn off and unplug the brush, and store it only once it has cooled.
Hot Air Brush Temperature Guide for Each Curl Type
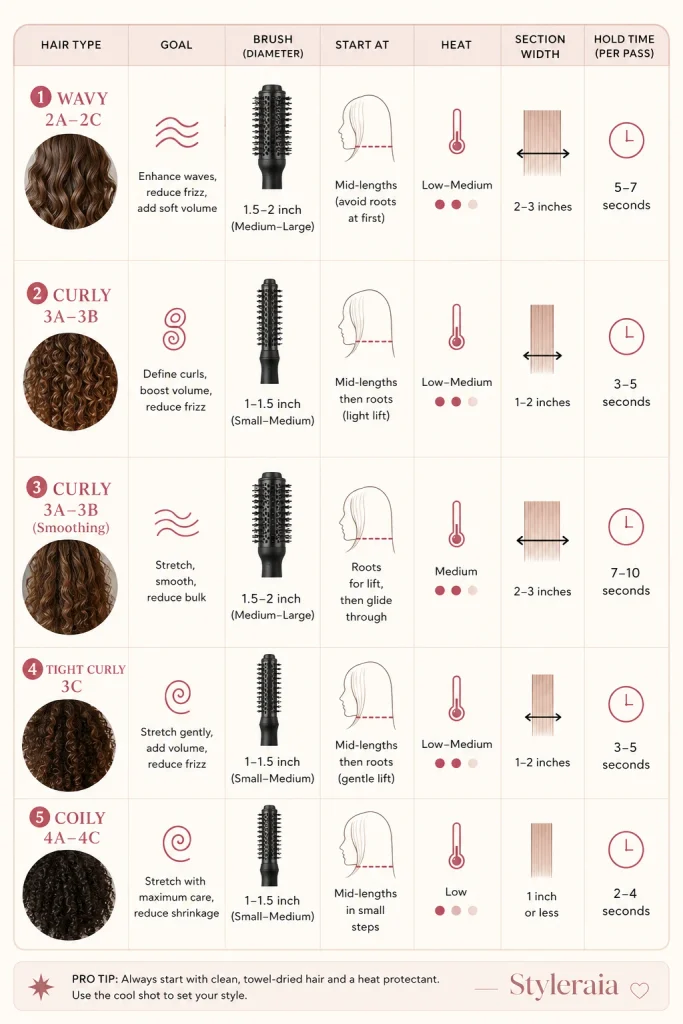
Curl type changes the starting point. Begin on the lowest heat and raise it only if the curl will not set. The chart draws on figures from the sources listed above, and it notes where none were available.
| Curl type | Goal | Brush | Start at | Heat | Section | Hold |
|---|---|---|---|---|---|---|
| Wavy (2A–2C) | Define, add volume | Round | 80–90% dry | Lowest, step up if needed | 1–2 in | About 10 sec |
| Curly (3A–3B) | Define curls | Round | 80–90% dry | Low, medium if the curl won’t set | 1–2 in | About 10 sec |
| Curly (3A–3B) | Smooth or stretch | Paddle or round | 80–90% dry | Low to medium | 1–2 in | 2–3 slow passes |
| Tight curls (3C) | Define | Round | 80–90% dry | Low | About 1 in | About 10 sec, longer if it springs out |
| Coily (4A–4C) | Light stretch | Paddle | 80–90% dry | Lowest only | About 1 in | Test one section first |
Coily-hair guidance here is cautious, and the sources do not cover it in depth. Check your brush manual, since no source gives degree settings.
Save or screenshot this Curly Hair Hot Air Brush Settings Chart it covers heat, section size and hold time for every curl type from wavy to coily.
Can a Hot Air Brush Straighten Curls?
Yes. With extra passes and steady tension on the hair, a hot air brush can straighten curls. House Junkie recommends a paddle brush and going over each section once or twice more than for basic styling.
Pull the brush slowly from root to end, then use the cool setting to set the straight shape. For how the tool compares with a heated plate, see hot air brush vs flat iron.
Should Curly Hair Be Wet or Damp for a Hot Air Brush?
Use damp hair, around 80–90% dry. Hair that’s soaking wet or completely dry won’t style as well. Bellissima Italia advises damp over wet, and Who What Wear says fully dry hair holds a style less well.
Guides conflict because tools differ. Hot air brushes work on damp hair. Heated thermal brushes, which work like curling wands, are designed for dry hair, Who What Wear explains. Check which type you own.
How Do You Adjust for Short, Thick and Fine Curly Hair?
Change section size, heat and hold time to match your hair. For short curly hair, work in small sections and hold the brush close to the roots.
- Short curly hair: Bellissima Italia suggests small sections and holding about 15 seconds. House Junkie warns that ends can flip unintentionally on short hair. For root volume, pull the brush up from the root, as House Junkie describes.
- Thick curly hair: House Junkie says thicker hair may need more heat. Use smaller sections and let each cool fully, which Who What Wear flags for heavy hair.
- Fine curly hair: Use lower heat and hold a little longer if the curl resists. Finish with hairspray or serum, per House Junkie.
- Long curly hair: Heavy hair drops out easily, so clip each cooled section, per Who What Wear.
What Are the Most Common Mistakes?
The most common mistakes are releasing warm hair, starting too wet or too dry, and brushing out finished curls. Most problems trace back to moisture level or skipped cooling.
| Problem | Likely cause | Fix |
|---|---|---|
| Curls drop within an hour | Released while warm | Use the cool shot or clip to cool |
| Frizz after styling | Brushed out finished curls | Shake out with fingers only |
| Flat roots | Wrapped over, not under | Roll under at the root |
| Curl won’t form | Dry hair or too-cool setting | Re-dampen to 80–90% dry |
| Hair straighter than planned | Too much heat or too many passes | Lower heat, use fewer passes |
| Hair feels brittle or dull | Heat damage | Stop, reduce heat, see a stylist |
Heat damage in curly hair is commonly described as curls that no longer spring back, plus brittleness. American Academy of Dermatology guidance on heat styling and hair damage.
How Often Can You Heat-Style Curly Hair?
A couple of times a week is the range Who What Wear gives, with a heat protectant each time. Styling less often at a low temperature is gentler on your hair than frequent high-heat sessions. Lower the heat if hair feels dry or curls loosen.
See a stylist for breakage or heat-damaged hair. See a dermatologist if your scalp becomes irritated. Keep the brush away from the scalp.
FAQ
How to use a hot air brush on curly hair straight?
Use a paddle brush on hair that is 80–90% dry, with heat protectant applied. Work in small sections, keep each one taut, and make extra passes from root to end, as House Junkie describes. Set the straight shape with the cool setting. Lowest heat first, raised only as needed.
How to use hot brush on short hair for volume?
Lift each small section at the root and pull the brush upward, which House Junkie says builds volume. Roll hair under the brush near the root to add lift, per Who What Wear. Short hair needs small sections and careful hand position, since ends can flip unintentionally.
How to use hot brush on short hair?
Take small sections and keep the brush close to the roots. Bellissima Italia suggests holding about 15 seconds for short hair. Start on low heat, cool each section with the cool shot, and shake out with your fingers. Watch the ends, which can flip in unintended directions.
How to use hot air brush on wet hair?
Avoid soaking-wet hair. Towel-dry first, or rough-dry to about 80–90% dry, then use the brush. Bellissima Italia says damp hair is better than wet, and House Junkie says overly wet hair is more likely to be damaged. Always apply heat protectant, regardless of how wet hair is.
Do hot air brushes damage curly hair?
Damage is less likely with heat protectant, low heat and limited use, according to Who What Wear. Risk rises with high heat, overly wet hair and frequent use. Stop if curls stop springing back or hair feels brittle, and test a small section if your hair is bleached or coily.
How often can you use a hot air brush on curly hair?
Who What Wear says a couple of times a week is safe when you apply heat protectant first. Adjust the heat to your hair type, because thick hair may tolerate more and fine hair less. If hair feels dry or curls loosen, reduce frequency.
What to Do Next
If this was your first run, hot air brush for beginners walks through a basic blowout. For why the cool shot and airflow work the way they do, read how a hot air brush works.
Pingback: How to Get Volume With a Hot Air Brush: 7 Easy Steps
Pingback: Hot Air Brush for Frizzy Hair: Does It Work? (2026 Guide)
Pingback: Does a Hot Air Brush Make Hair Frizzy? Causes and Fixes
Pingback: Hot Air Brush for Damaged Hair: Is It Safe? (2026 Guide
Pingback: Why Does My Hot Air Brush Tangle My Hair? Causes and Fixes
Pingback: How to Get Hair Out of a Hot Air Brush Safely